Secure Shell Windows Client from SSH.COM
NOTE as of 2017 this is OBSOLETE and does not support newer security protocols required by newer systems- *Please see MobaXterm SSH and Xterm MobaXterm SSH and Xterm Web site

Installation steps
Windows Installation
- On the AppServer, look in \\asimov.cscf.uwaterloo.ca\exports\export\COMMON\SSHClient
- run SSHSecureShellClient-3.2.9.exe
- accept all defaults
- click Finish
- References
License the software
Note: The license included with the SSHSecureShellClient-3.2.9.exe installer has expired.Follow these steps to update the license.
- Replace the license.dat file in the Secure Shell program directory with license2.dat.
- Note: you will have to copy/rename license2.dat to the target license.dat
Using Public Key Athentication
[This part of the document is stale compared with http://www.cs.uwaterloo.ca/cscf/howto/ssh/public_key/- This method of authentication permits a secure and optionally automatic login to a Linux machine for a given userid.
- The user userid is used in this example.
- We will create a key pair on the SSH Windows client and upload it to a Linux box.
SSH C"> Creating a key pair on the SSH Client
- Open SSH Client
- Connect to the host that you wish to connect to with a public key (so we can upload a key later on)
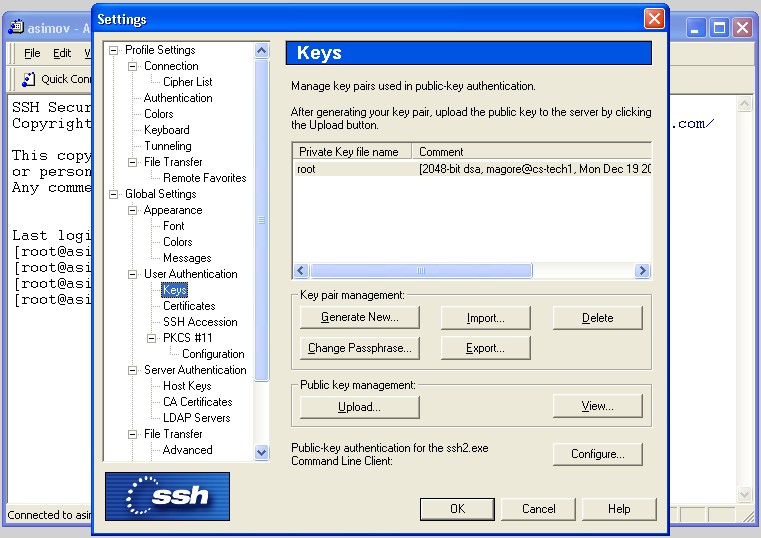
- Open the Edit Menu -> Settings
- Open "User Authentication" -> "Keys"
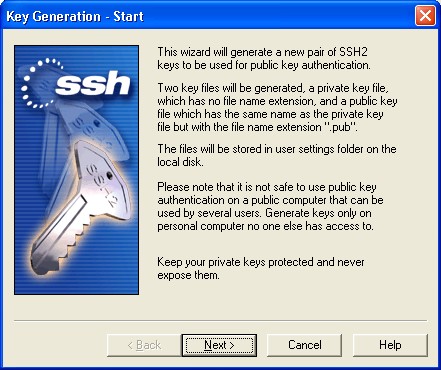
- Pick Generate New
- Pick Next
- Choose Key Properties
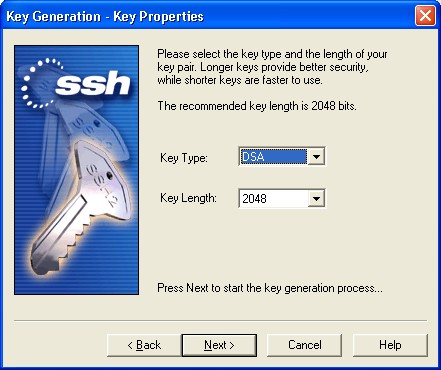
Next
- Pick an optional passphrase
- Note this will be need every time you login - this primarily is to protect your private key from theft
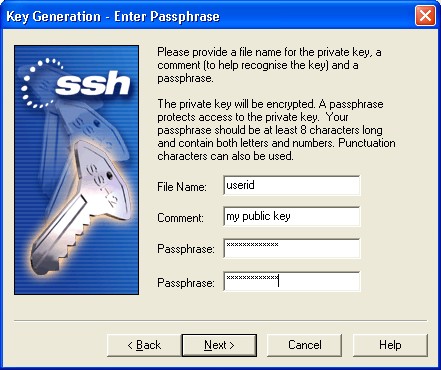
Next
- Note this will be need every time you login - this primarily is to protect your private key from theft
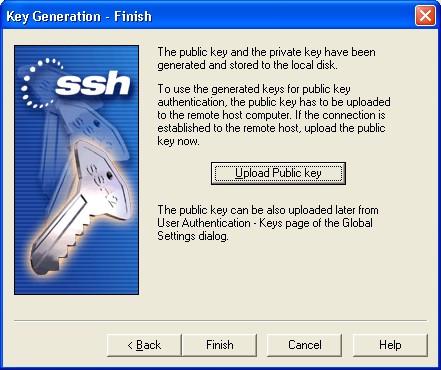
- Generate Key Complete
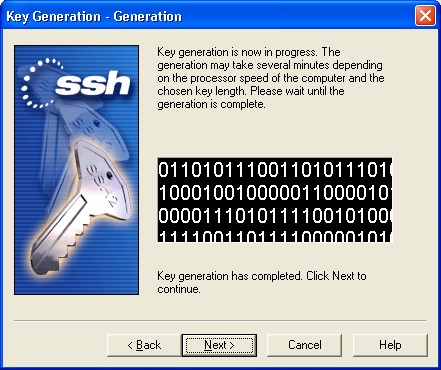
Next
- Upload Button

- Upload Key Dialog
- Pick .ssh for folder
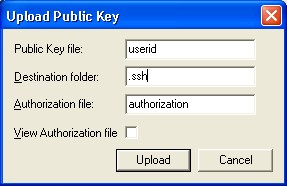
Upload
- Pick .ssh for folder
- Upload Key Finish
Install uploaded public key on Linux Host
- We assume you are logged in to the userid's home directory- cd ~/.ssh ( change into userid's home .ssh folder)
- ssh-keygen -i -f userid.pub >junk
(translates the SSH.COM Windows Client key into the correct format) - cat junk >> authorized_keys (Append translated key to authorized_keys file - the list of keys we accept for automatic login)
- rm userid.pub authorization junk (remove unneeded files)
SSH Fonts
- Edit Menu -> Settings -> Fonts
- SSH uses the Windows fixed size font sets - you can add addition fonts to windows to take advantage of other font styles
- Fonts that are greater then 1 pixel thickness
- Lucida Console
- Lucida Sans Typewriter
- Extra English Fonts that are installed with Chinese language support
   @BatangChe 18
   @DotumChe 18
   @GulimChe 18
   @GungsuhChe 18
   @MS Gothic 20
   @MS Mincho 20
   @NSimSun 20
   BatangChe 18
   DotumChe 18
   GulimChe 18
   GungsuhChe 18
   NSimSun 18
- Other optional Windows Fonts
   MS Gothic 20
   @Terminal 20
   Bitstream Vera Sans Mono 18
Other sources of FREE fixed width fonts
- Free Linx/Unix fonts for Windows: http://www.ank.com.ar/fonts/
- Includes PCF to FON converter: http://www.ank.com.ar/fonts/pcftofon.exe
Non-free fonts
References
- http://www.cs.uwaterloo.ca/cscf/howto/ssh/
- RemoteDesktopSSH - remote desktop and SSH tunnels
- MicroX - X windows and SSH tunnels
Troubleshooting
- "Too many authentication failures"
_ You may also have set a public key in your profile - or the server you are connecting to also requires another authentication method - see http://www.ssh.com/support/documentation/online/ssh/winhelp/32/authentication_failure.html
- Google "authentication failure" site:ssh.com
- "No further authentication methods available"
- this can occur if the reverse lookup of your host address cannot be done
- see http://www.ssh.com/support/documentation/online/ssh/winhelp/32/disconnected_authentication_error.html
- Check your login Authentication method - see dialog below - the host you are connecting to may not support the option you picked

Information in this area is meant for use by CSCF staff and is not official documentation, but anybody who is interested is welcome to use it if they find it useful.
- CF Web
- CF Web Home
- Changes
- Index
- Search
- Administration
- Communication
- Hardware
- HelpDeskGuide
- Infrastructure
- InternalProjects
- Linux
- MachineNotes
- Macintosh
- Management
- Networking
- Printing
- Research
- Security
- Software
- Solaris
- StaffStuff
- TaskGroups
- TermGoals
- Teaching
- UserSupport
- Vendors
- Windows
- XHier
- Other Webs
- My links
 |
|
Ideas, requests, problems regarding TWiki? Send feedback